This is a great dish to make ahead in a big batch and it freezes very well. The recipe below will make about 40-60 small patties depending on how big you shape them. The recipe does take a lot of chopping but that is the most time consuming part. Once you're done with that, all you have to do is mix, shape into patties, and cook.
I like to freeze them in bags of 8 patties so when I don't feel like looking or I need a quick meal to-go, I will defrost one bag, fry them up and pack them up with some rice. It is the perfect meal to-go and it's full of delicious and nutritious vegetables! Let's get started.
Ingredients:
-approx. 3 1/2 pounds of ground turkey or ground beef
-2 packs of firm tofu
-rice flour (gf version) or regular all-purpose flour
-2-5 eggs (if making the egg version)
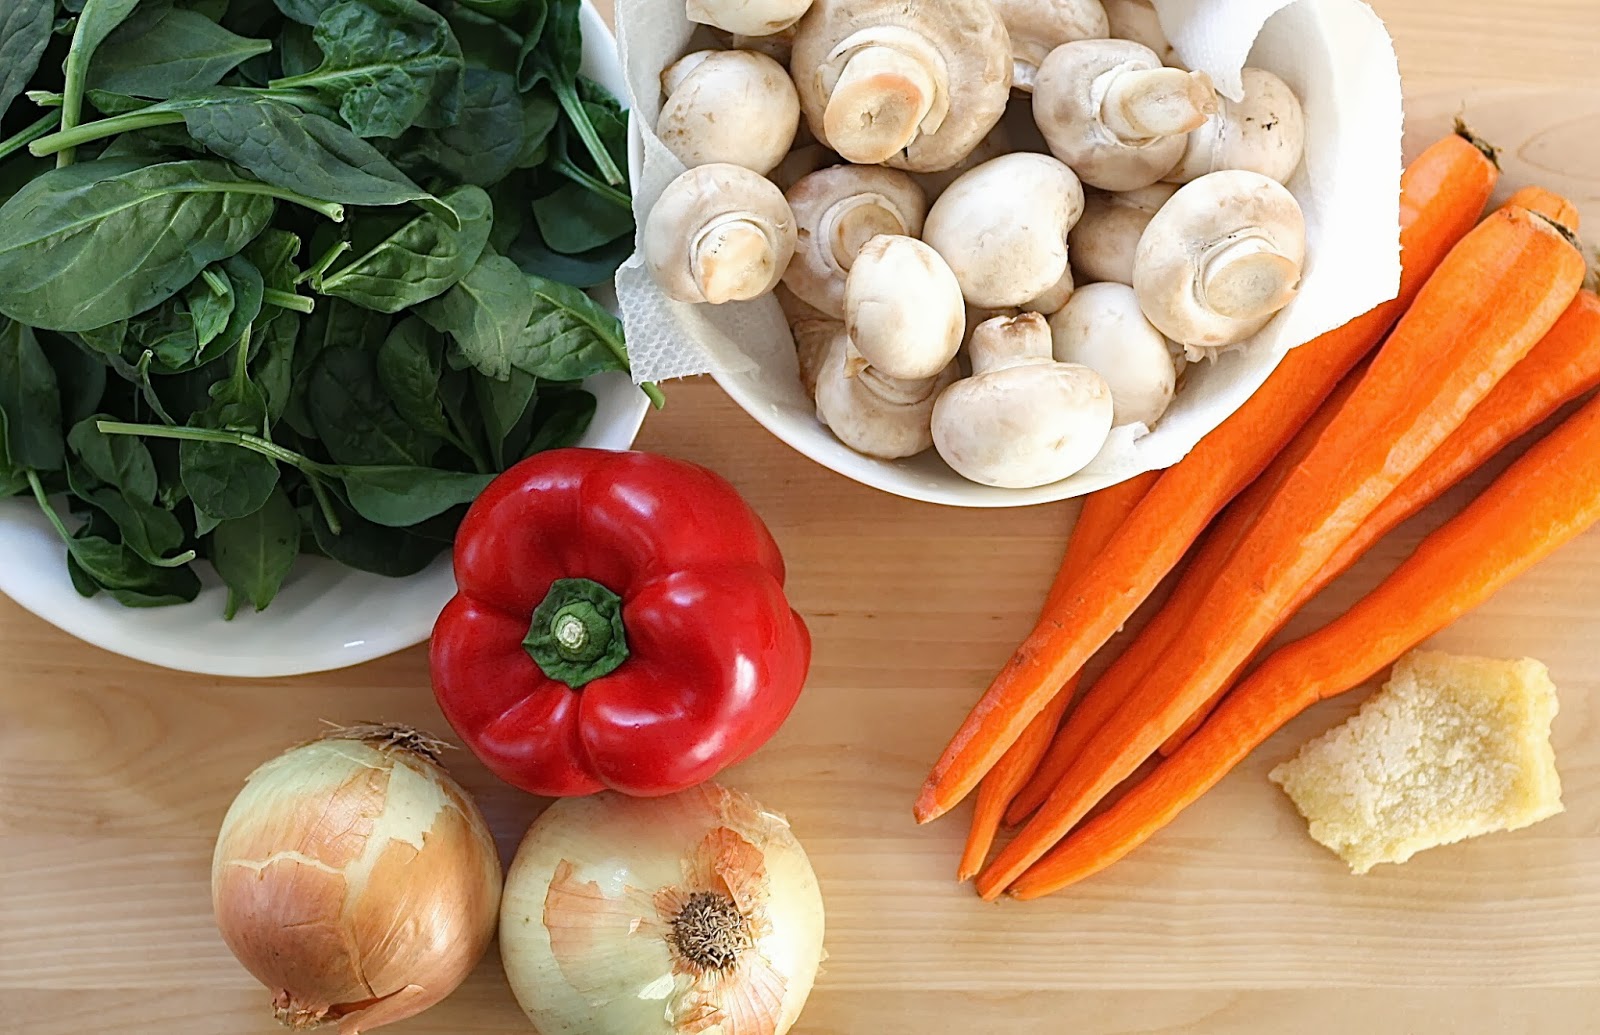
-3 handfuls of spinach
-10 mushrooms
-6 carrots
-1 bell pepper
-1 1/2 onions
-3 teaspoons of finely minced garlic
-salt & pepper
I used the vegetables pictured above but you can definitely add or take out any depending on your kid's likes or dislikes. I will say, though, that the red pepper and garlic definitely give the patties a great flavor. My oldest doesn't really like red peppers but she happily dips the patties in ketchup.
This is a 4-pack of ground turkey that I picked up at Costco. I am using 2 packs for this recipe. You can also use ground beef which is my husband's favorite! But we have to keep it healthy so I switch back between ground turkey and ground beef.

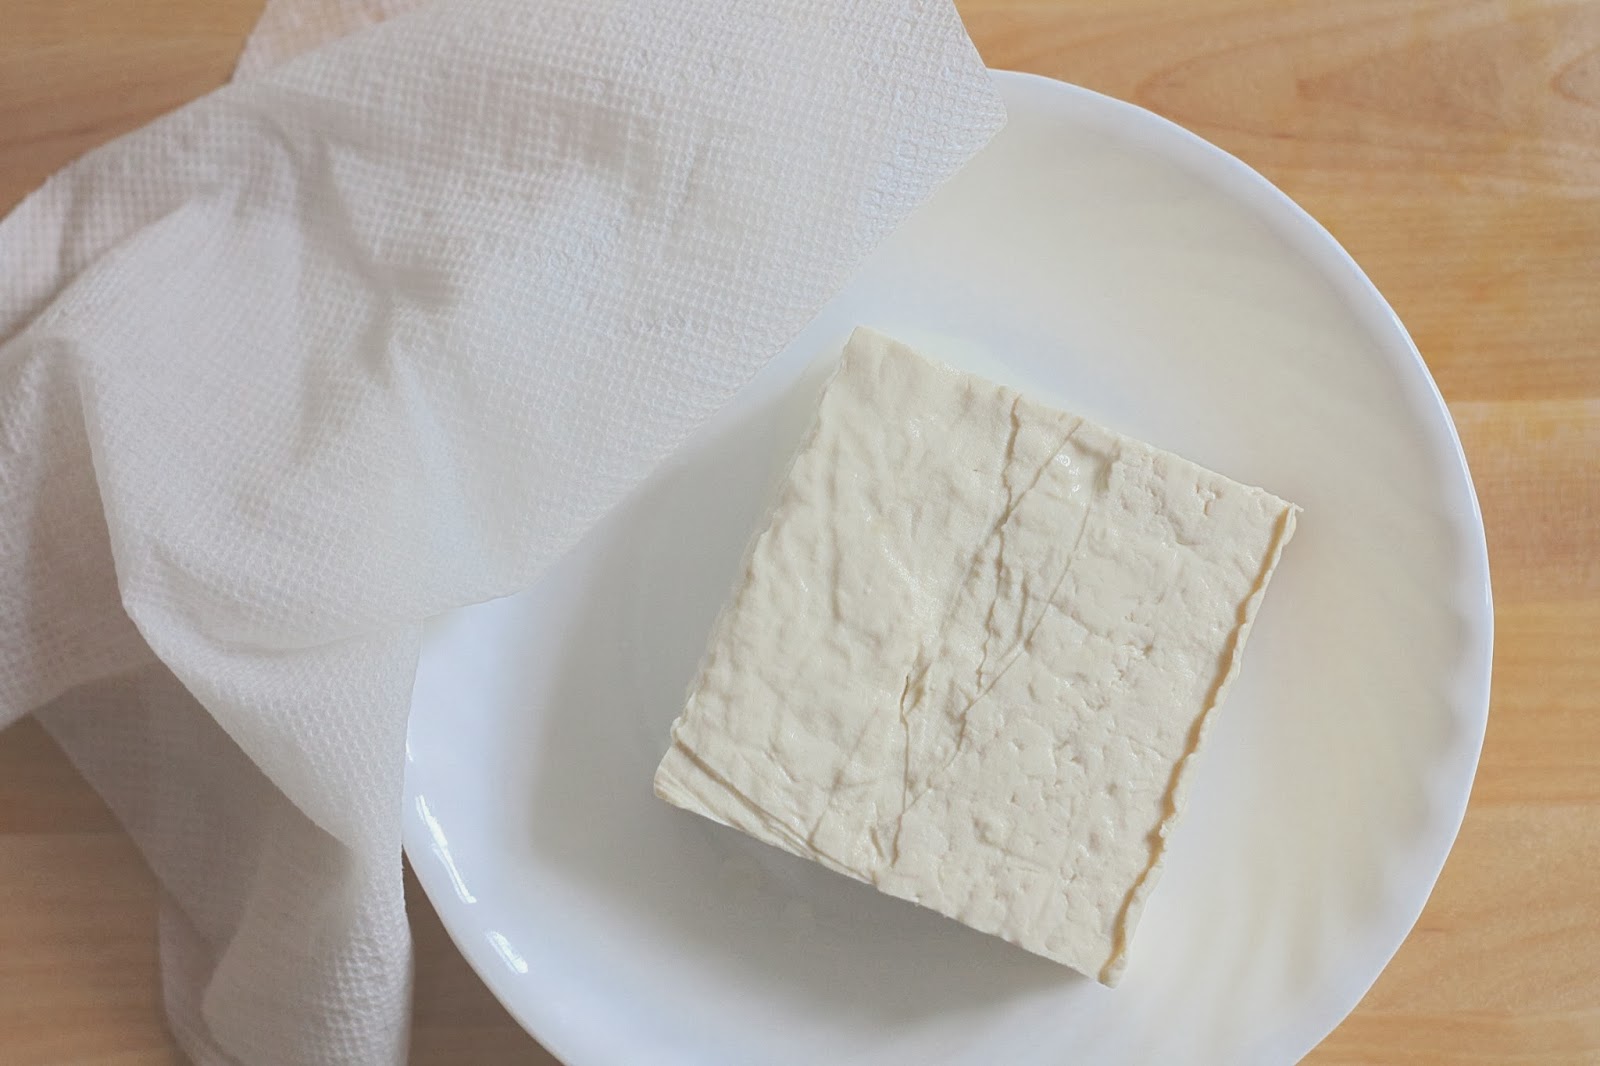
Not all tofus are created equal. Pulmone brand tofu is definitely hands down the most delicious tofu. Until a couple of years ago I thought all tofus tasted pretty much the same until I started to regularly cook meals for my kids.
My mom would always pick up this particular brand from the Asian grocery store and I realized how much more delicious and smooth tasting this tofu brand was over all of the other ones that I had used. I like to use their organic type but all of their other tofus taste great too and they are all made using non-GMO soybeans. They come in 3 different consistencies: silken, soft, and firm.
For this recipe I use the firm kind. The firm kind has the most water pressed out of it but it still has some water left. To remove as much of it quickly as possible, remove tofu blocks from package, drain, place in a bowl and cover it with a moist paper towel and microwave for 5 minutes. When done, drain the excess water, chop, and set aside.
 |
Peel & finely dice carrots. |
 |
Wash the mushrooms & chop.
 |
 |
Dice red pepper. |
Dice the onions & mince about 5 cloves of garlic. I used a piece from a bag of minced garlic that I had in the freezer. (I will share my time-saving trick for freezing garlic in a future post)
 |
Chop spinach. |
Sauté the onions and garlic for abour 4-5 minutes with 1 tablespoon of olive oil over low to medium heat.
 |
Whew! Congratulations on completing all of that chopping!
The rest is super quick - I promise.
|
Add about 2 1/2 teaspoons of sea salt to your ground turkey. 2 1/2 teaspoons will make it just salty enough but if you want it more on the saltier side, add a little bit more salt. I like to use the least amount as possible since we will be dipping it sauce later.
 |
Grind some black pepper. |
Now add all of the veggies and the tofu.
Look at all of those beautiful veggies and your hard work!
Now comes the fun part.
 |
Mix it all up. |
 |
Now we're ready.
|

Form into small patties. Roll into a ball and flatten down. You want to make them pretty flat and not too thick because the patties will shrink and thicken up as they cook.
Heat a non-stick frying pan with a little bit of olive oil. Place patties on and cook 4-6 minutes on each side on low to medium heat until lightly browned.
 They are so delicious right off the stove.
Eat as is or you can dip in ketchup or a soy sauce/vinegar sauce (just a couple of teaspoons of each & mix in a small sauce bowl)
For the egg version, coat the patties with either rice flour (for a gluten-free version) or just regular flour.
Make sure to wipe the pan with a paper towel completely clean after each batch to make sure your patties don't brown too much.
Crack a couple of eggs.
 |
Beat the eggs with a fork and add a pinch or two of salt. |
Gently drop a patty into the egg and coat with egg. Use a fork in one hand and the other hand to flip it makes it easier.
Cook on both sides for about 4-5 minutes with a little bit of olive oil until lightly browned.
Enjoy!
They are so easy to reheat the next day and still taste great. Pack some rice and nori/seaweed sheets along with some of these patties and you have a perfectly nutritious & delicious meal for your little one to go!
 |
If you are going to freeze some of the patties, get some wax paper and cut them into squares. I made about 25 squares to freeze half. The wax prevents them from sticking together and makes defrosting them MUCH easier. Without the wax paper, they will stick to each other and break apart. |
 |
Stack them like so. If I shape my patties well, I can get 8 patties stacked on top of each other. After stacking, wrap the individual packs in some cling wrap and then put them into a Ziploc bag. Now you have quick and healthy meals that will be lifesaver on those days when you don't have the time or energy to cook!
When you are ready to defrost them, take a pack out and leave it out for about 30 minutes. Then carefully slide a knife in between the pieces and the patties easily split apart. |
 |
| Enjoy! |
Thank you for reading and stay tuned for another delicious recipe post next week!
If you have any recipe requests, please leave a comment below or send me an email at amandamkim@gmail.com.
 Turkey/Beef Tofu Patties Jam Packed with Veggies
Ingredients:
-approx. 3 1/2 pounds of ground turkey or ground beef
-2 packs of firm tofu
-rice flour (gf version) or regular all-purpose flour
-2-5 eggs (if making the egg version)
-3 handfuls of spinach
-10 mushrooms
-6 carrots
-1 bell pepper
-1 1/2 onions
-3 teaspoons of finely minced garlic
-salt & pepper
Directions
1. Dice all of the vegetables and set aside.
2. Cover each tofu block with a moist paper towel and microwave in a bowl for 5 minutes. Drain and chop.
3. Sauté onion and minced garlic in olive oil for about 4-5 minutes with olive oil on low to medium heat.
4. Put all of the chopped vegetables, tofu and sautéed onions & garlic into a large bowl and add 2 1/2 teaspoon of salt. (Add a little more if you like it on the salty side) Grind some black pepper.
5. Shape into patties. Roll into a ball and flatten down. You want to make them pretty flat and not too thick because the patties will shrink and thicken up as they cook.
6. Heat a non-stick frying pan with a little bit of olive oil. Place patties on and cook 4-6 minutes on each side on low to medium heat until lightly browned.
For egg version:
7. Coat the patties with either rice flour (for a gluten-free version) or all-purpose flour.
8. Crack a couple of eggs, sprinkle a little salt, and beat.
9. Gently drop a patty into the egg and coat with egg.
10. Heat up a non-stick frying pan with olive oil and cook 4-6 minutes on each side on low to medium heat until lightly browned.


